
Set up the play space
SteamVR
How to set up the play space with a SteamVR headset (HTC Vive, HTC Vive Pro, Valve Index) using SteamVR Room Setup.
With a SteamVR headset, you set up the play space using Room Setup in SteamVR on your PC. Choose the Room-Scale option so that you get a walkable play space.
On your PC
-
Make sure SteamVR detects your VR headset and both controllers. The status window shows the detected hardware in green.
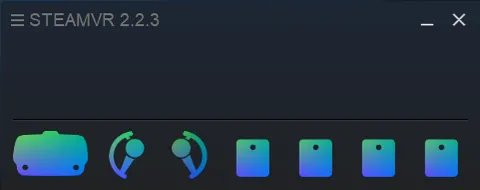
SteamVR status window with detected hardware -
Open the SteamVR menu and select Room Setup.
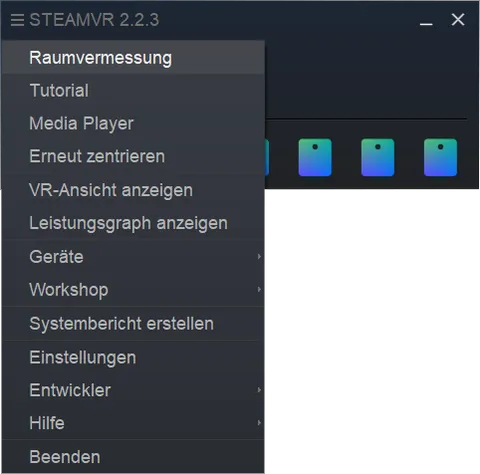
Room Setup in the SteamVR menu -
Select Room-Scale (not Standing Only).
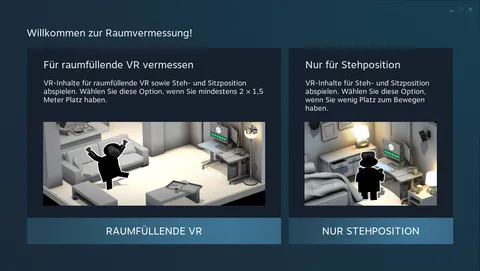
Choose Room-Scale -
Make space: clear the floor between the base stations (at least 2 x 1.5 metres).
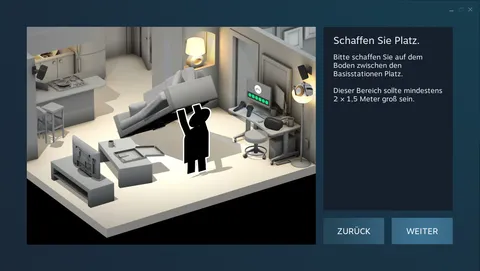
Clear the floor between the base stations (at least 2 x 1.5 metres) -
Activate tracking: turn on both controllers and the headset until all are shown as ready.
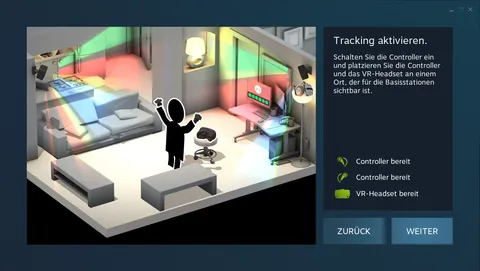
Turn on the controllers and headset until all show as ready -
Locate your monitor: point at the monitor with a controller and hold down the trigger.
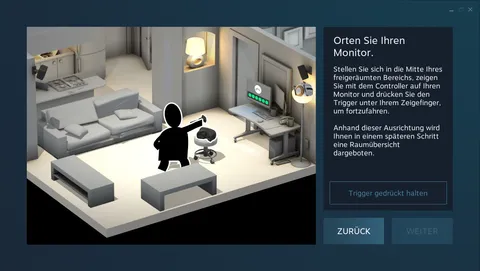
Point one controller at the monitor and hold the trigger -
Locate the floor: place both controllers on the floor and calibrate.
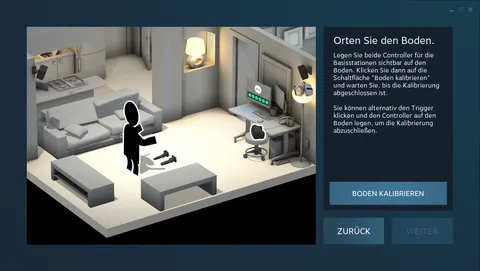
Place both controllers on the floor and calibrate -
Measure your room: trace the boundary of the freely walkable area with the controller. SteamVR then defines a play space: a green rectangle with a white arrow appears.
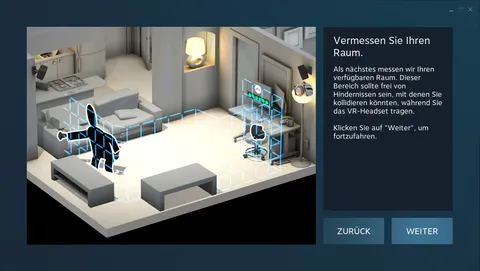
Trace the boundary of the walkable area with the controller
Most important step: set the centre point (starting point) correctly
This step is often overlooked, but it is crucial when using ViRTUE in a large or medium-sized room (see Set up the virtual play space):
In the last step of Room Setup, after the green rectangle with the white arrow has appeared, click Edit. Make the rectangle as small as possible and move it to the spot where the user’s starting point is located on the map.
The white arrow must point in the direction in which the user walks from the hospital corridor into the patient room.
The following video shows SteamVR Room Setup. From the indicated point on, it shows how to edit the play space.