
The patient visit
The Visit from the User's Perspective
The visit is the central training flow of ViRTUE: a simulated visit to two patients in which the user completes several tasks while following the rules of hand hygiene.
From the user’s perspective, a visit consists of a sequence of tasks that the user performs for both patients in the room, from the greeting through the clinical measurements to the documentation. What matters is that the user disinfects their hands at the right moments. ViRTUE records whether hand hygiene is followed correctly.
Starting in the hospital corridor
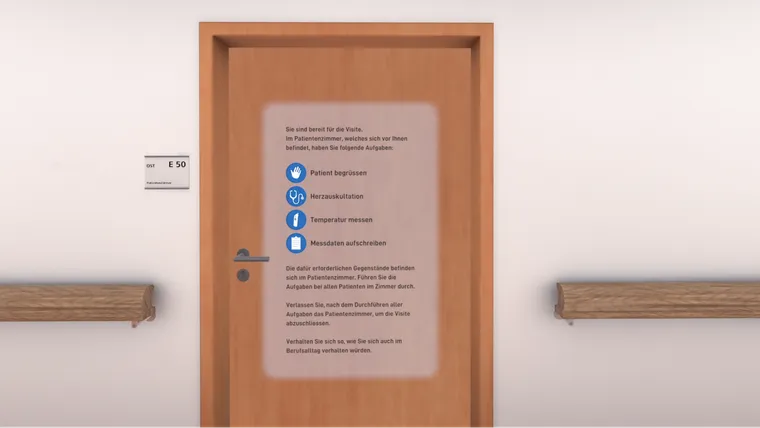
The user starts in the hospital corridor. The tasks that must be carried out during the visit are displayed on the room door.
The visit begins as soon as the user opens the room door.
Step by step
- The user moves close to the door.
- They grab the door handle with their hand.
- They move their hand downward. This presses the door handle down.
- With the door handle pressed down, they move their hand away from themselves or step forward to push the door open.
- They release the door handle again. The door then opens automatically.
Greeting the patient
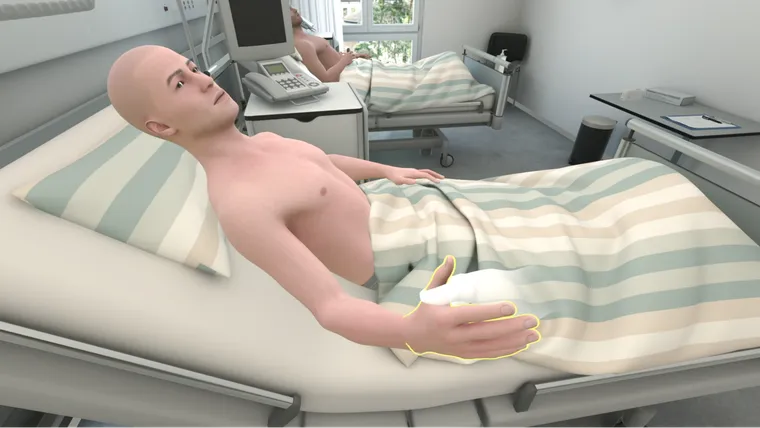
At the start of the visit, the user greets the patient with a brief handshake. The timing of the greeting has no influence on the result.
Step by step
- The user takes the patient’s hand with one hand.
- They shake the hand briefly.
- They release the hand again.
Cardiac auscultation
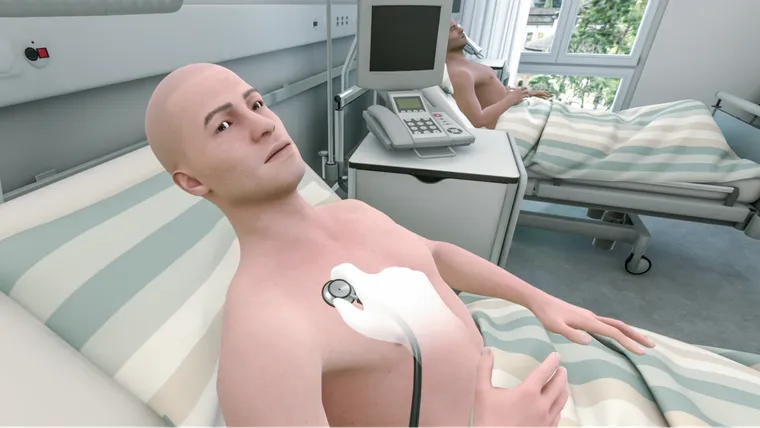
The user listens to the patient’s heart with the stethoscope. Cardiac auscultation is one of the clinical measurements during the visit.
Step by step
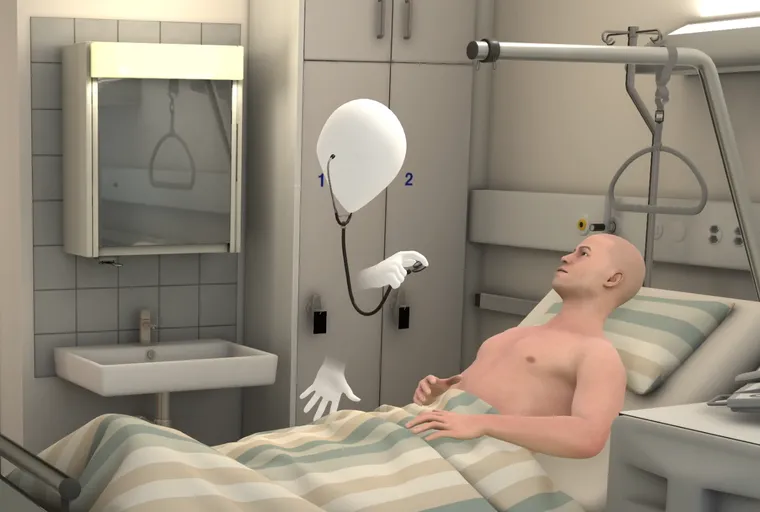
- The user grabs the stethoscope with one hand, holds the earpiece close to their head, and releases it once it is correctly positioned.
- With the other hand, they take the chest piece and place it on the patient’s chest. The heart sounds become audible.
- After the measurement, they pull the earpiece away from their head again and release the stethoscope. It automatically returns to its starting position.
Measuring temperature
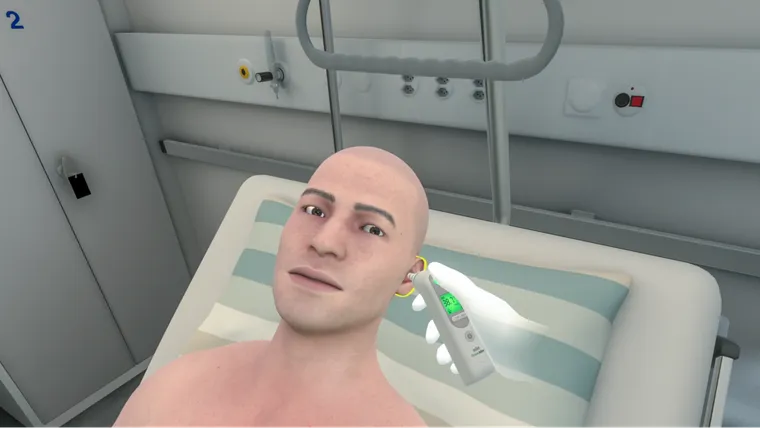
The user measures the patient’s body temperature at the ear with the ThermoScan. A filter cap protects the device from contamination.
The filter cap protects the ThermoScan from contamination and must be disposed of after the measurement. If the ThermoScan is placed in the base station with the filter cap still attached, the base station can become contaminated.
Step by step
- The user grabs the ThermoScan with one hand.
- The user holds the ThermoScan close to the filter cap in the base station. The filter cap is attached.
- The user inserts the ThermoScan into the patient’s ear.
- After a brief moment, an audible beep signals that the measurement was successful.
- The measured temperature is shown on the display.
- The user aims the ThermoScan at the waste bin until it opens. They then press the trigger button on the controller to dispose of the filter cap.
If the thermometer filter automation is enabled in the Settings, attaching and removing the filter cap are performed automatically. In this case, the user does not need to carry out the corresponding steps manually.
Recording measurement data
The user records the results of the examinations on a clipboard. The measurement data from the cardiac auscultation and the temperature measurement are entered automatically, provided that the corresponding measurements have already been carried out.
It does not matter whether the user enters the measurement data after each individual measurement or only once all measurements have been completed.
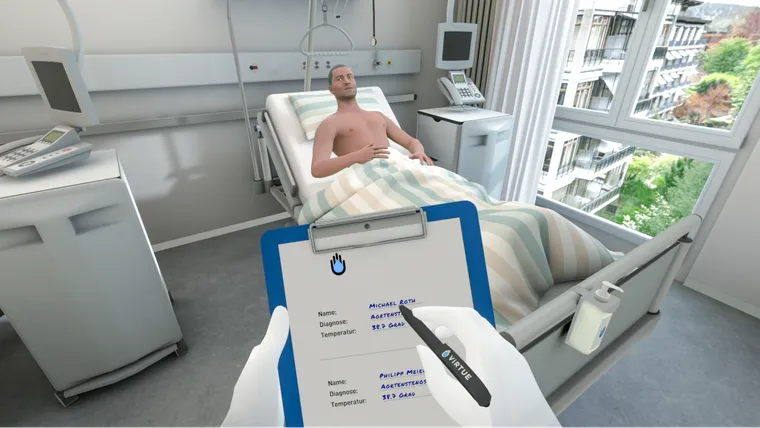
Step by step
- The user takes the clipboard from the table and grabs the pen.
- They touch the paper with the tip of the pen. The measurement data from the cardiac auscultation and the temperature measurement are entered automatically, provided that the respective measurements have already been carried out.
Hand disinfection
Hand disinfection is the central action of the training: at the designated moments, the user disinfects their hands at the dispenser. ViRTUE checks whether this happens at the right time. When a disinfection is required is described by the Hand hygiene rules.
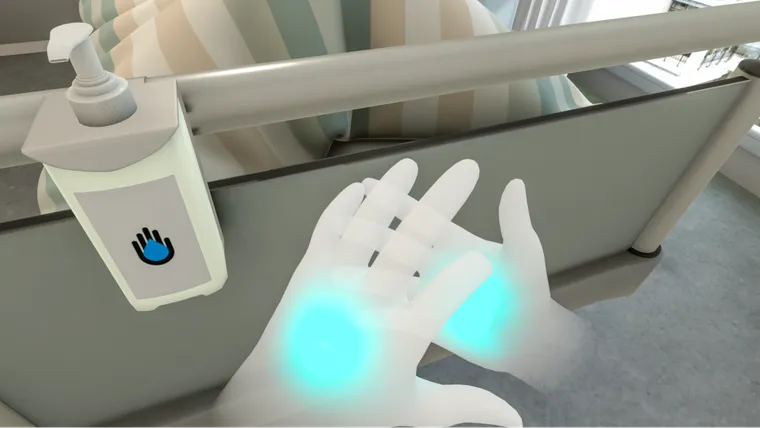
Step by step
- The user presses the dispensing pump with one hand. A controller button is not needed for this.
- With the other hand, they catch the hand sanitizer.
- They immediately hold both hands close together and spread the sanitizer over both hands. A blue glow effect and a vibration of the controller confirm successful completion.
Whiteboard
There is a whiteboard in the room for each patient. There the user can see which tasks have already been completed for the respective patient.
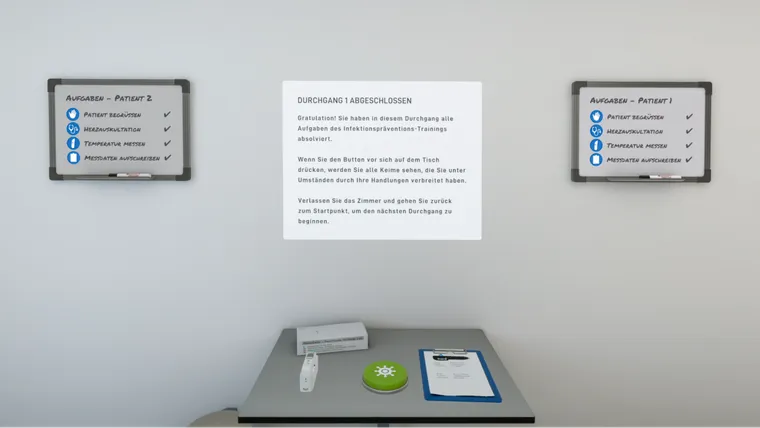
End of a visit
When all tasks have been completed successfully, the rating screen, the closing screen, and the germ-view button may be displayed depending on the configuration.
With the germ-view button, the user can show and hide the germ view. This reveals which germs were transferred to which surfaces during the visit.
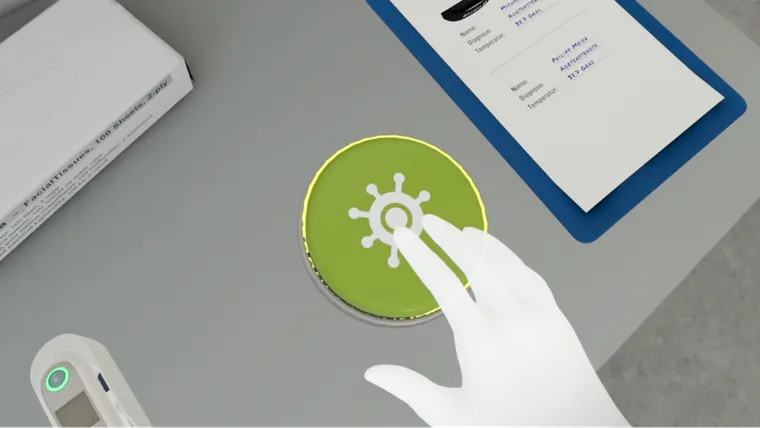
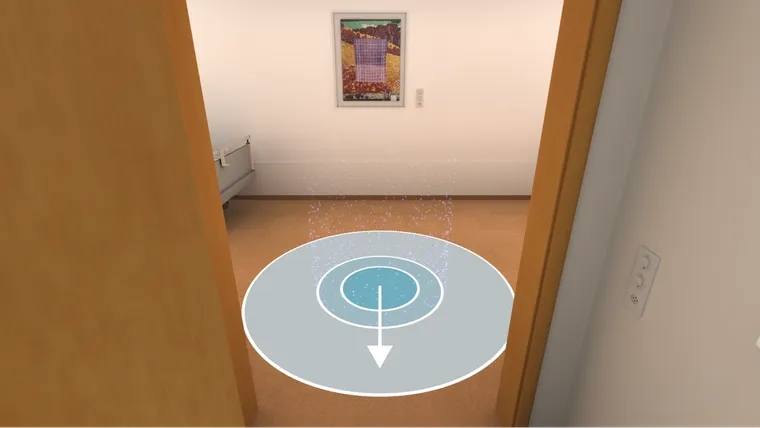
On the closing screen, the user is asked to leave the patient room. To end the visit, the user steps out of the room and stands on the glowing circle in the corridor.
Replay
After a visit has been completed, the operator can play back a recording of the run that has just ended. The replay is used to analyse the process together with the user and to discuss any mistakes in a comprehensible way.
During the replay, the user sees a white silhouette in VR that represents their own movements and actions during the visit. This allows the user to view their own performance from an outside perspective and to better understand in which situations mistakes occurred.
For more on the operator’s side of the replay, see From the operator's view.